


Pull-Out Spice Racks: A Cabinet Maker's Guide To Selection And Installation
Aug 25, 2026
Leave a message
If there's one corner of the kitchen that consistently becomes a disaster zone, it's the spice cabinet. Bottles buried behind other bottles. Half-empty jars you forgot you owned. That jar of cumin you bought three years ago, still lurking in the back.
A pull-out spice rack solves all of this. It brings every bottle into clear view, makes the back row as accessible as the front, and turns chaotic cabinets into organized, functional spaces.
Here's everything you need to know about choosing the right pull-out spice rack for your kitchen - and installing it like a professional.

Why a Pull-Out Spice Rack?
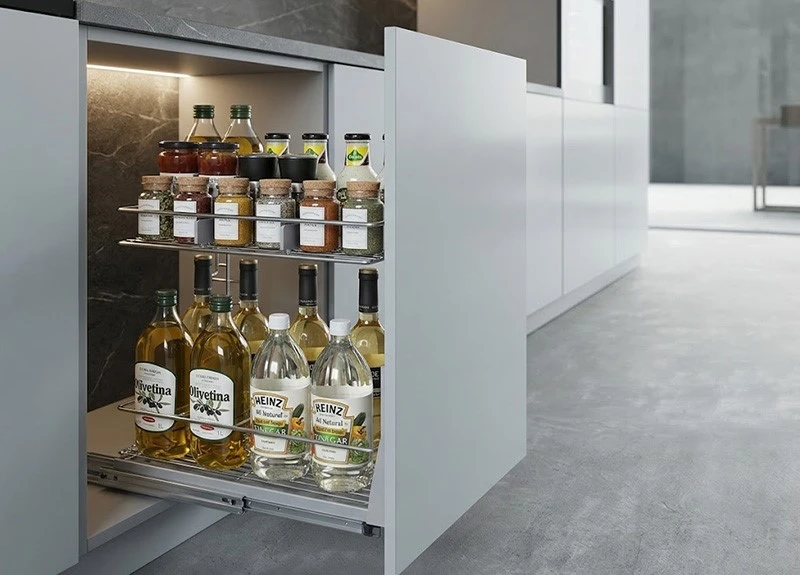
Unlike lazy Susans that can wobble or door-mounted racks with limited capacity, a pull-out spice rack slides out smoothly on heavy-duty rails, giving you full access to every single bottle. It's especially useful for:
- Narrow cabinet spaces – Pull-out racks fit into gaps as narrow as 3 to 6 inches between standard cabinets
- Deep cabinets – No more reaching into the abyss
- High-traffic kitchens – Quick access means less time searching, more time cooking
Types of Pull-Out Spice Racks
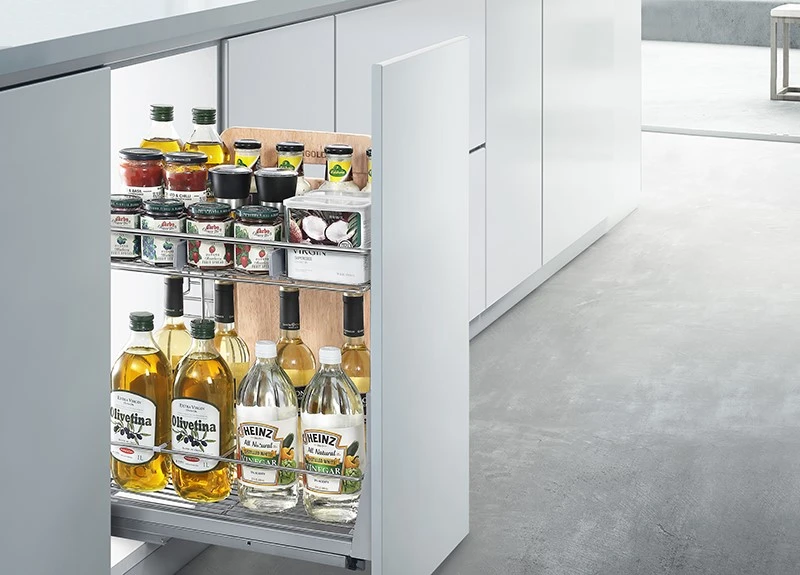
Single-Tier vs. Multi-Tier. Single-tier racks are simple and affordable, ideal for smaller collections. Multi-tier racks (2 or 3 tiers) maximize vertical space and can hold 20 to 40 bottles or more.
Width Options. Spice racks typically range from 4 to 9 inches wide. Narrower racks (4–5 inches) fit tight spaces, while wider models (8+ inches) offer greater capacity.
Material Choices. Powder-coated metal is durable and rust-resistant. Bamboo or wood offers a warm, natural look. Stainless steel provides a sleek, professional appearance.
Full-Extension Slides. The best racks use full-extension ball-bearing slides, allowing the rack to pull out completely for easy access.


Installation Guide: Step by Step
Installing a pull-out spice rack is a straightforward DIY project. Here's how to do it right.
Step 1: Unpack and Inspect
Take the rack out of the packaging and check all parts against the manual. Make sure nothing is missing or damaged before you start.
Step 2: Attach the Slides to the Base
Place the rack's base plate on a flat surface. Attach the slides (tracks) to the base using the provided screws, following the manufacturer's instructions.
Step 3: Measure and Mark the Cabinet
Accurate measurement is the single most important step for a successful installation.
Use a square to measure the front-to-back position of the slides. As a general rule, set the slides back 3mm from the front edge of the cabinet - this prevents the rack from protruding past the cabinet face.
Measure the left-to-right position: divide the cabinet width evenly to center the rack.
Use the square to draw level lines on the cabinet floor, ensuring the rack will be perfectly parallel to the side walls.
Step 4: Position the Base
Place the rack base into the marked position on the cabinet floor. Double-check that the front edge sits 3mm inside the cabinet opening - not flush, not protruding.
Step 5: Secure the Slides
Use 4×16 self-tapping screws to fix the slides to the cabinet floor. Secure both the front and rear of each slide with two screws each, ensuring a firm, wobble-free hold.
Step 6: Attach the Door Connectors
Mount the door connectors onto the front of the rack base. Adjust the height-adjustment screws to the middle position - this gives you room to fine-tune later.
Step 7: Measure and Mark the Door
Measure the left-to-right position of the connectors on the inside of the cabinet door. Subtract the gap allowance (typically 1.5mm) for the door seam.
Mark the positions clearly and draw level lines on the door interior.
Step 8: Fix Connectors to the Door
Using 4×16 self-tapping screws, attach the door connectors to the marked positions on the door. For now, only secure the top and bottom screws - leave the middle screws loose until the door is aligned.
Step 9: Mount the Door
Attach the cabinet door to the rack base. Tighten the screws connecting the door to the base.
Step 10: Adjust and Fine-Tune
Slide the rack into the cabinet and check the door gaps.
Use the vertical adjustment screw to raise or lower the door
Use the depth/tilt adjustment screw to fine-tune the door's alignment
Once everything is perfectly aligned, tighten all remaining screws.
Step 11: Secure the Rack Frame
Click the spice rack frame into the base. Give it a gentle tug to confirm it's firmly locked in place.
Step 12: Final Check
Slide the rack in and out a few times. Check the door gaps one more time. Load a few bottles and test the operation.
Installation complete.